


Prepare files for upload
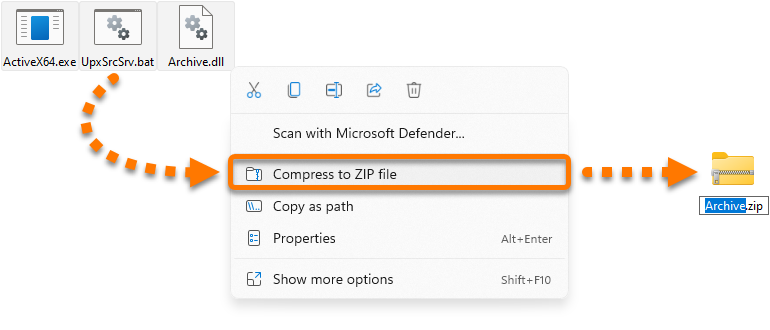
Before uploading your files to the Avast file server, you need to compress them to a zip file.
- Select and right-click the files for upload, then select Compress from the context menu.
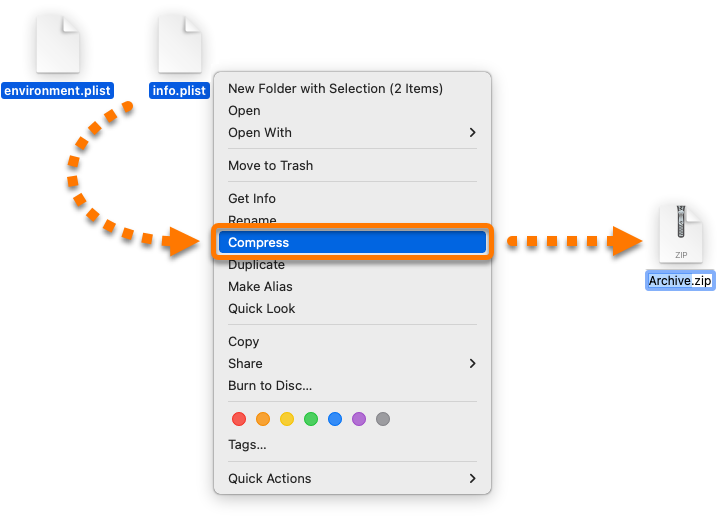
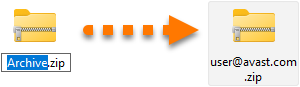
- Name the zip file so we can identify it on our file server. We recommend using a file name that includes your valid email address.
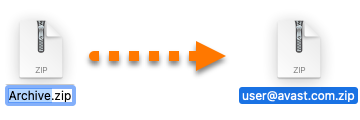
The new zip file is saved in the same folder as the original files. You can now follow the steps below to upload the files to the Avast file server.
Upload files to the Avast file server
Your reason to upload files:
Support analysis
After compressing your files to a zip file, you can upload them to the Avast FTP server with any FTP client software using the following parameters:
|
Protocol |
SFTP |
|
Host |
ftp.avast.com |
|
Port |
22 |
|
Username |
anonymous |
|
Password |
anonymous |
If you do not have any FTP client software, follow these steps:
- Ensure that your Mac is connected to the internet.
- Download the free FileZilla Client application from filezilla-project.org/, then double-click the downloaded BZ2 file and wait while Archive Utility extracts the FileZilla application.

By default, downloaded files are saved to your Downloads folder.
- Double-click the FileZilla icon to open the application. If prompted, click Open ▸ OK to grant permission for FileZilla to access your files and folders.

- In the top panel, provide the parameters listed above, then click Quickconnect to connect to the Avast FTP server.

When you log in for the first time, you may see a pop-up message regarding an Unknown host key. This is expected behavior, and you can click OK.
- On the left side of the screen, locate your zip file with the files for analysis. Drag and drop the zip file to the public folder.

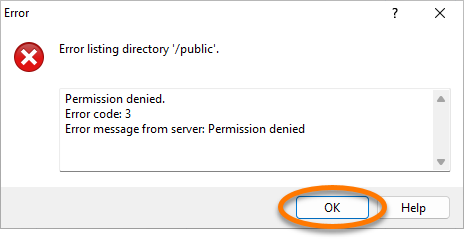
If you try to access the public folder, you may encounter an error message. This is expected behavior, as the contents of the folder are not accessible.
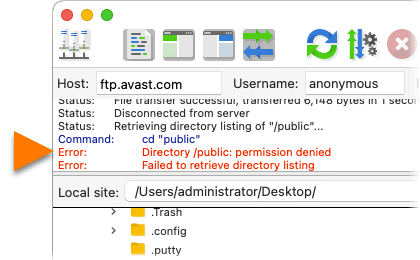
Your zip file is now uploaded to the Avast FTP server. You need to notify the Avast Support agent who asked you to upload the files and give them the name of your ZIP file. Only Avast Support agents can view uploaded files that are located on our FTP server.
If the upload stops mid-progress, it cannot be resumed. Restart the upload process by following the steps above.
Whitelisting
After compressing your files to a zip file, you can upload them to the Avast FTP server with any FTP client software using the following parameters:
|
Protocol |
SFTP |
|
Host |
whitelisting.avast.com |
|
Port |
22 |
|
Username / Password |
Your account credentials received after joining the Whitelisting Program |
If you do not have any FTP client software, follow these steps:
- Ensure that your Mac is connected to the internet.
- Download the free FileZilla Client application from filezilla-project.org/, then double-click the downloaded BZ2 file and wait while Archive Utility extracts the FileZilla application.
By default, downloaded files are saved to your Downloads folder.
- Double-click the FileZilla icon to open the application. If prompted, click Open ▸ OK to grant permission for FileZilla to access your files and folders.
- In the top panel, provide the parameters listed above, then click Quickconnect to connect to the Avast FTP server.

When you log in for the first time, you may see a pop-up message regarding an Unknown host key. This is expected behavior, and you can click OK.
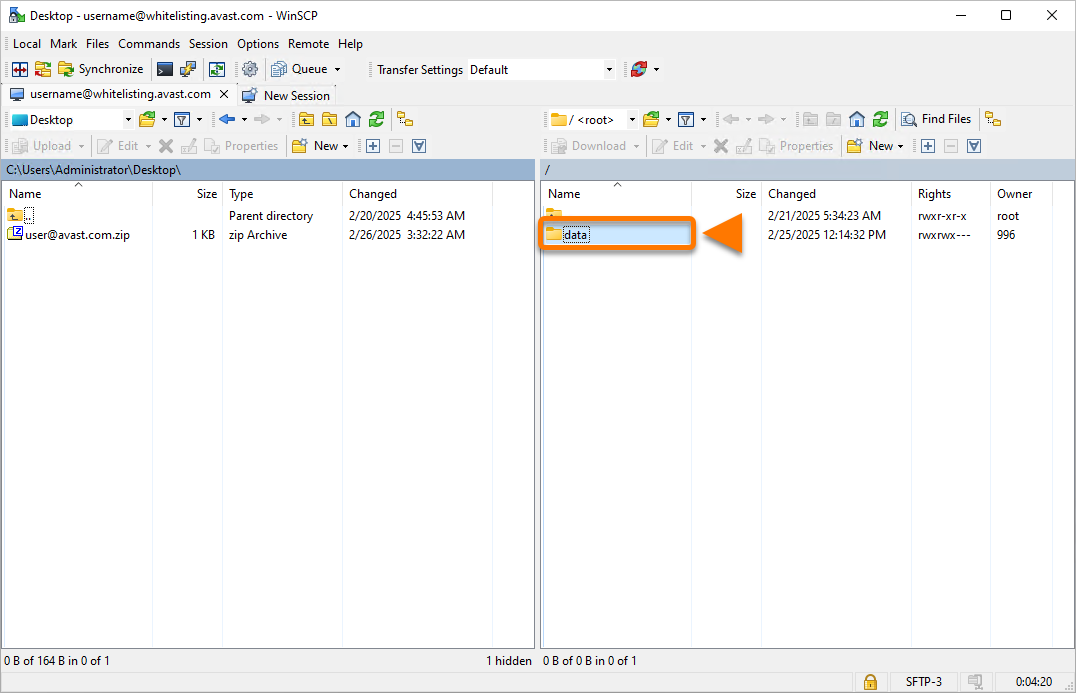
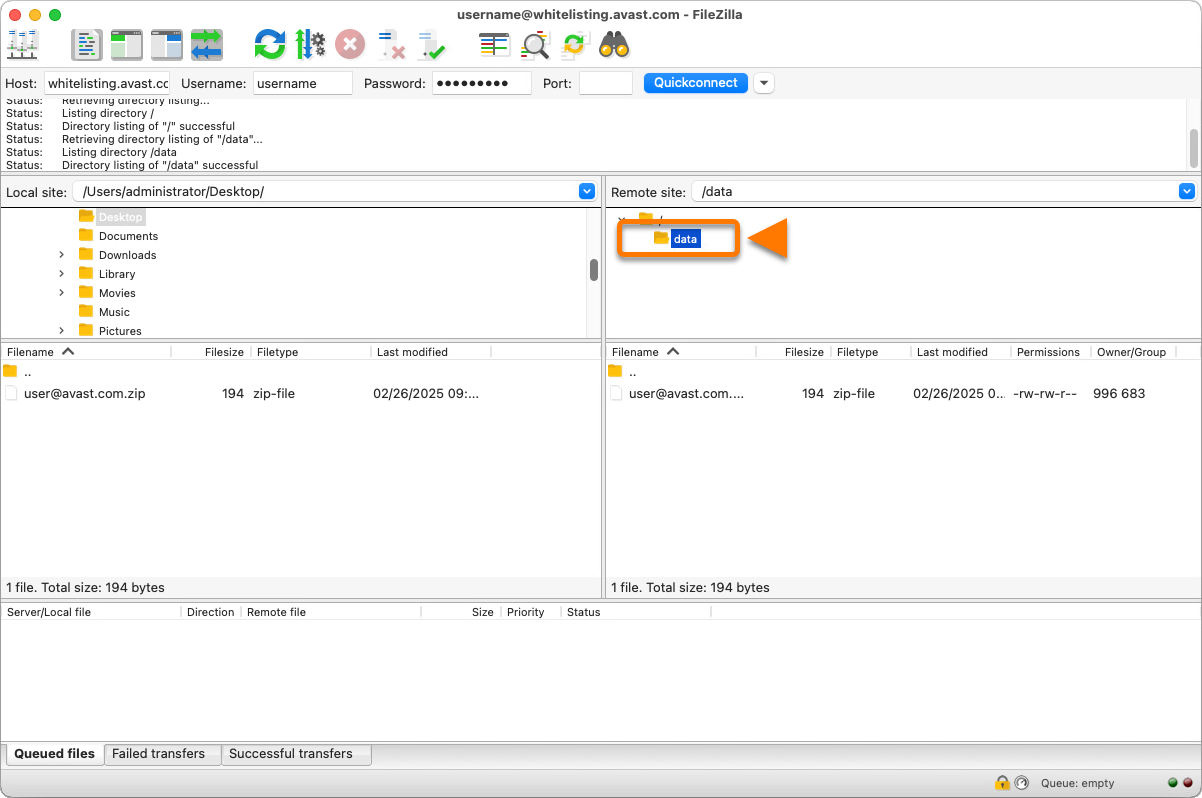
- On the right side of the screen, double-click the data folder.
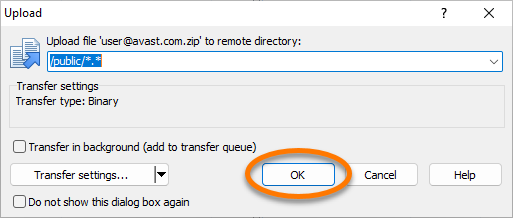
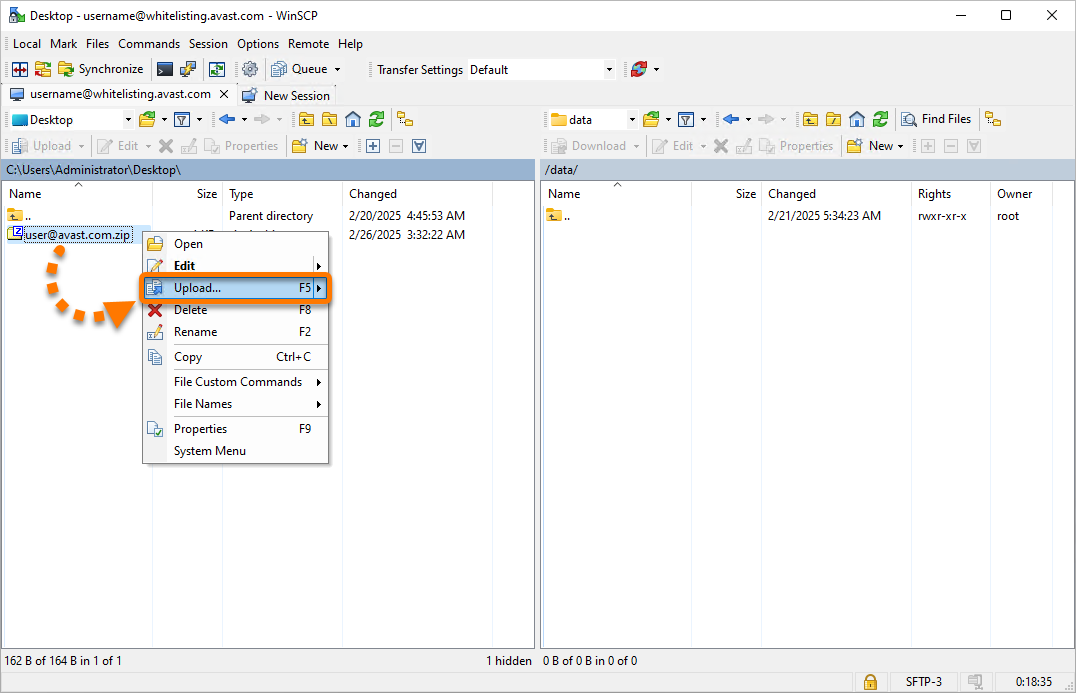
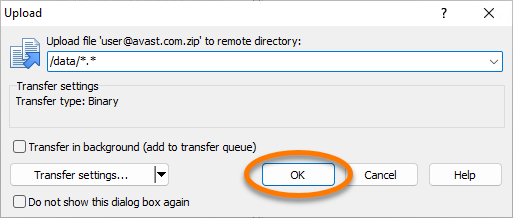
- On the left side, locate and right-click your zip file with the files to be whitelisted, then select Upload from the context menu.
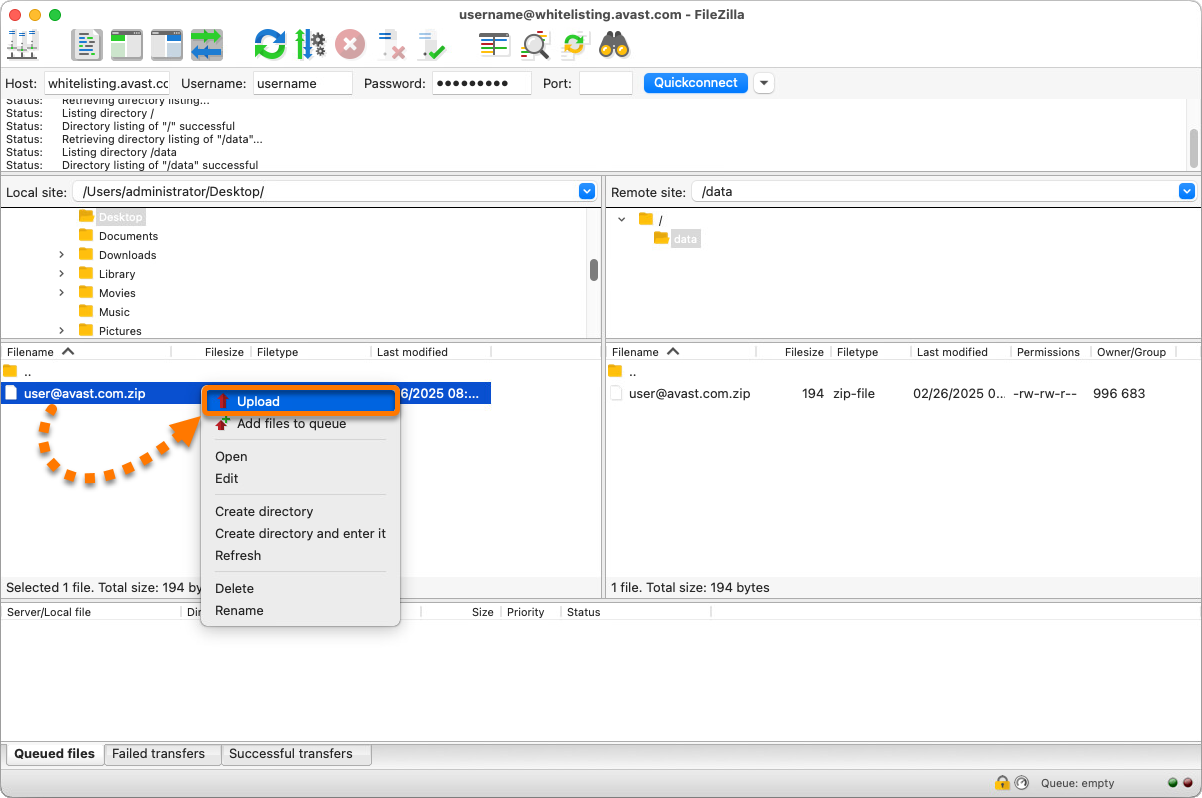
Your zip file is now uploaded to the Avast FTP server and Avast Threat Labs are notified automatically. Uploaded files are normally processed within 24 hours.
- If the upload stops mid-progress, it cannot be resumed. Restart the upload process by following the steps above.
- You are not notified about the whitelisting process. However, you can scan the submitted files after the next virus definitions update of Avast Security to verify that they have been whitelisted.