
 ...select Virus Scans ▸ Run Smart Scan.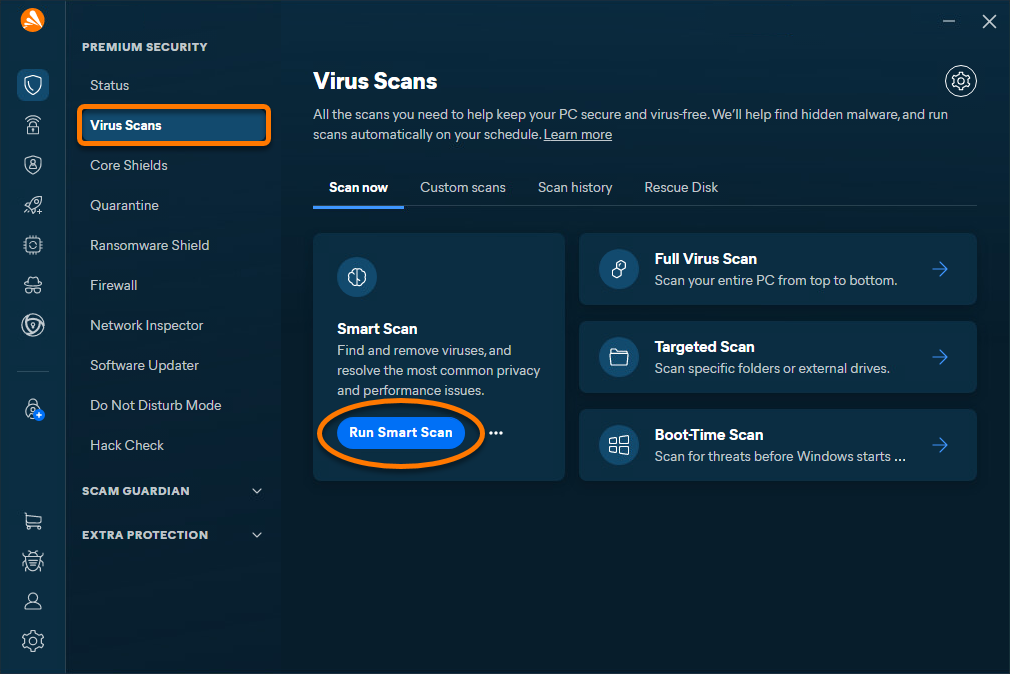


This article is about the Smart Scan feature in the new version of Avast One. For information about scans in the old version of Avast One, refer to the following article: Scanning for viruses with Avast One.

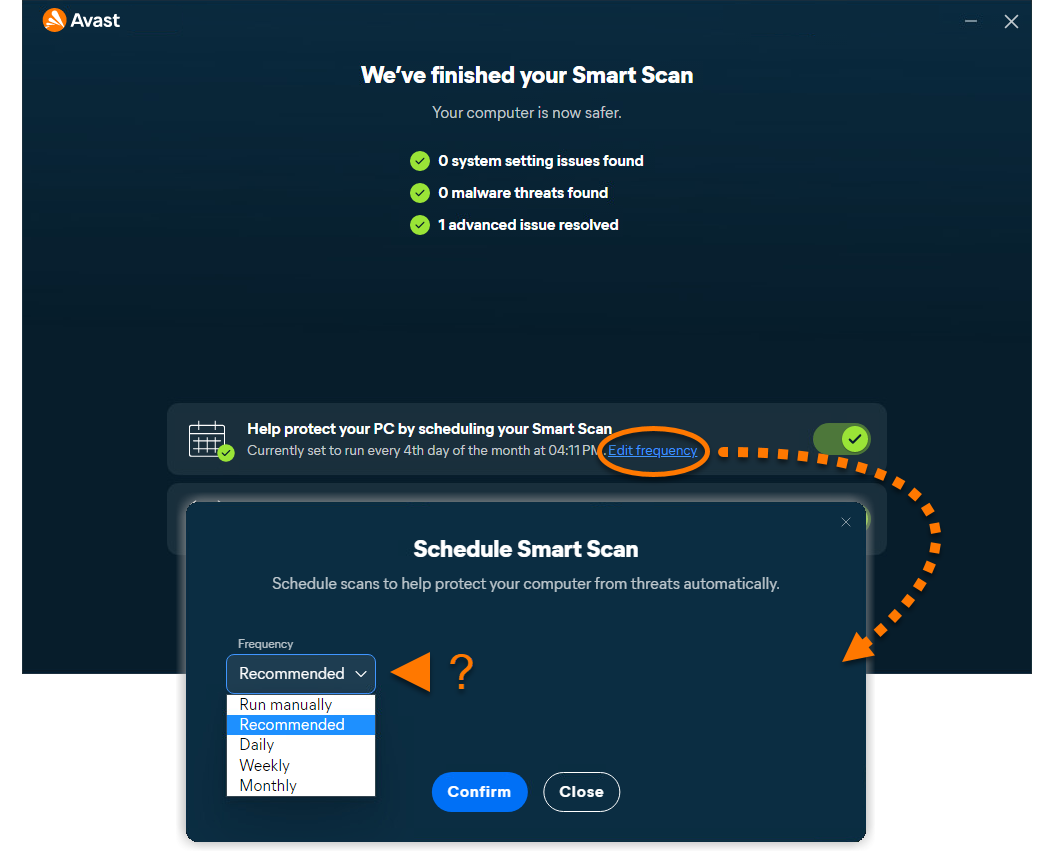
Smart Scan is a comprehensive scan that helps detect browser threats, outdated applications and drivers, hidden viruses, and other issues at the same time. Refer to the sections below to learn how to use the Smart Scan feature.
Run a Smart Scan
- Open Avast One, ensure that Status is selected in the side menu and choose Run Smart Scan. Or...
 ...select Scan Center ▸ Run Smart Scan.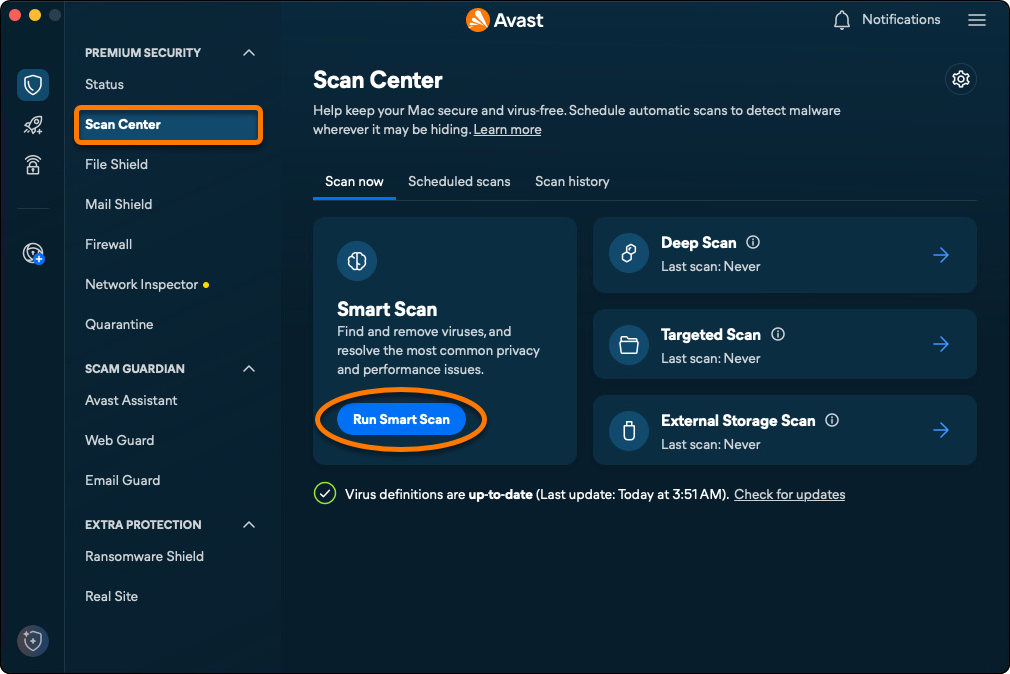
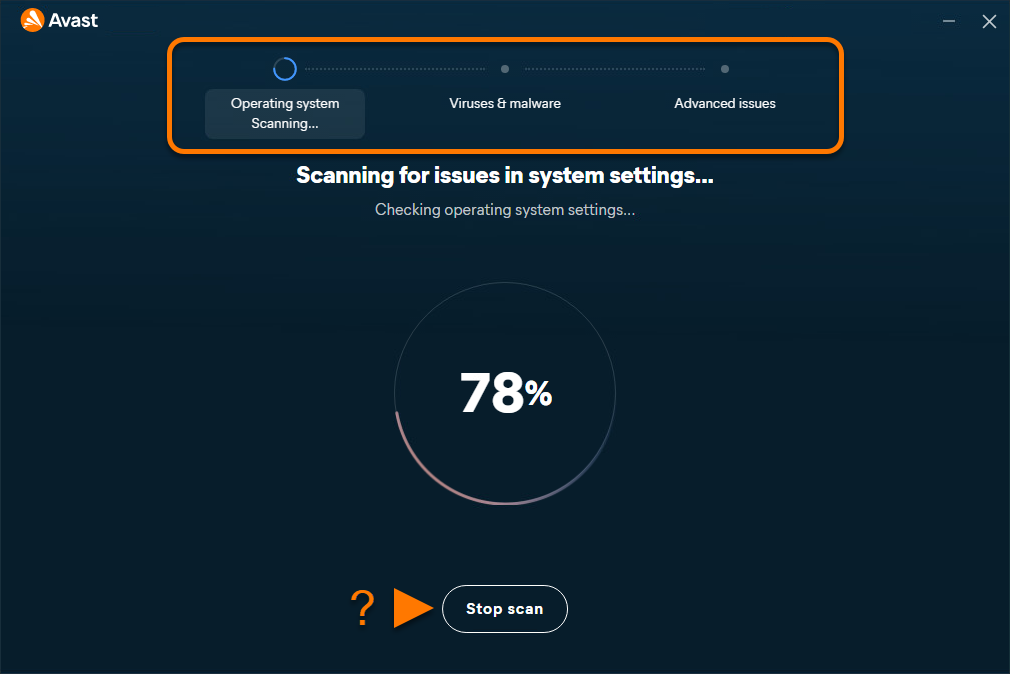
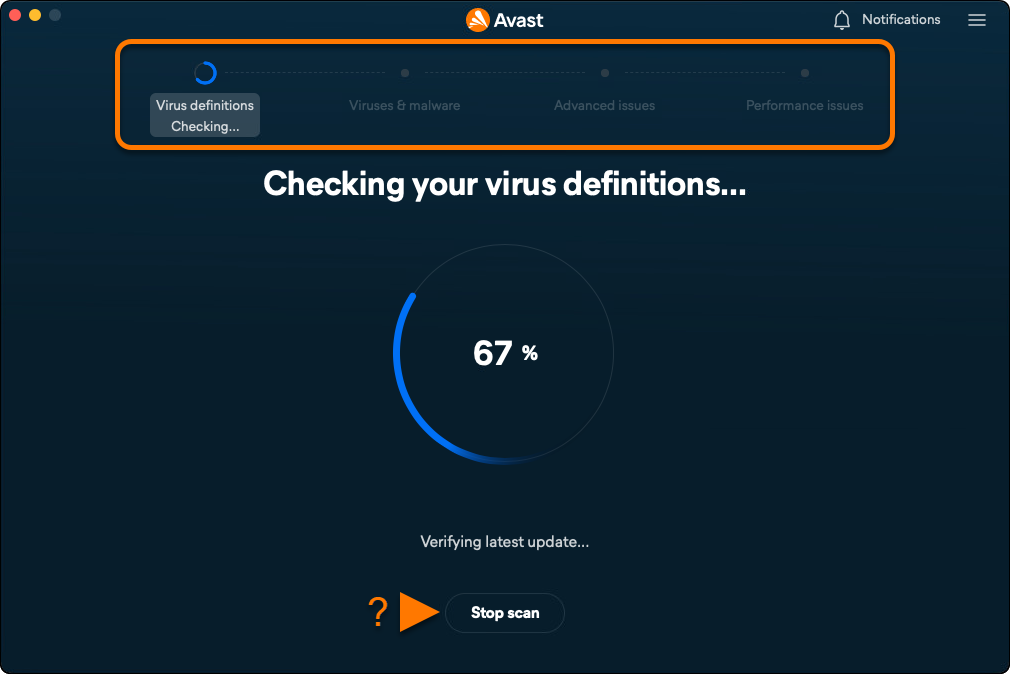
- Wait while Smart Scan scans your Windows device for browser threats, outdated applications, hidden viruses and malware, and other advanced issues. Click Stop scan at any time to pause the scan.
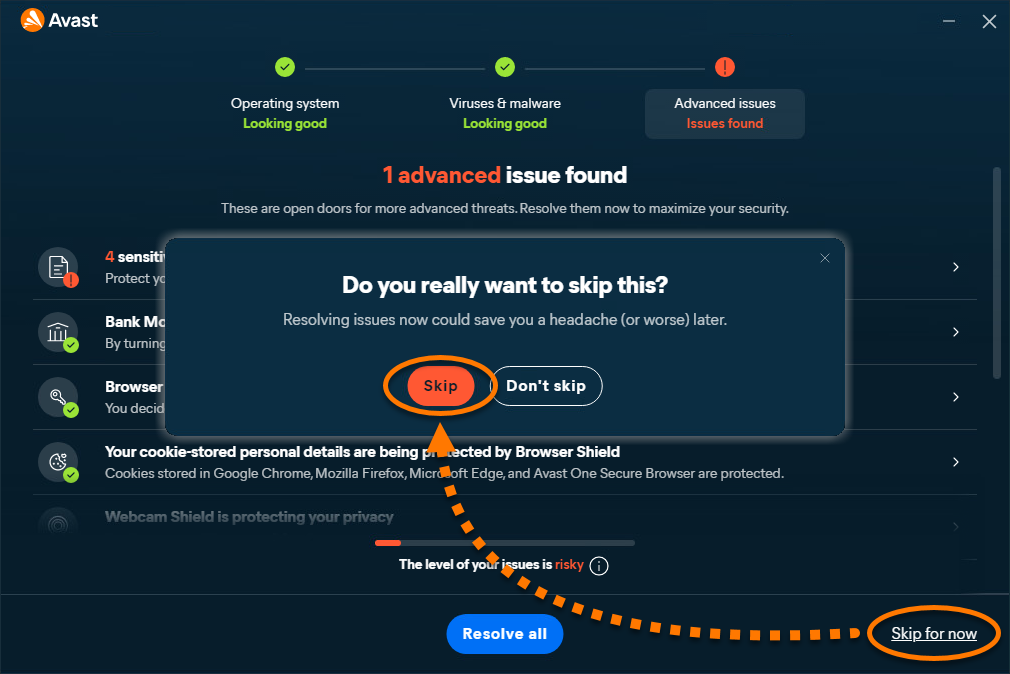
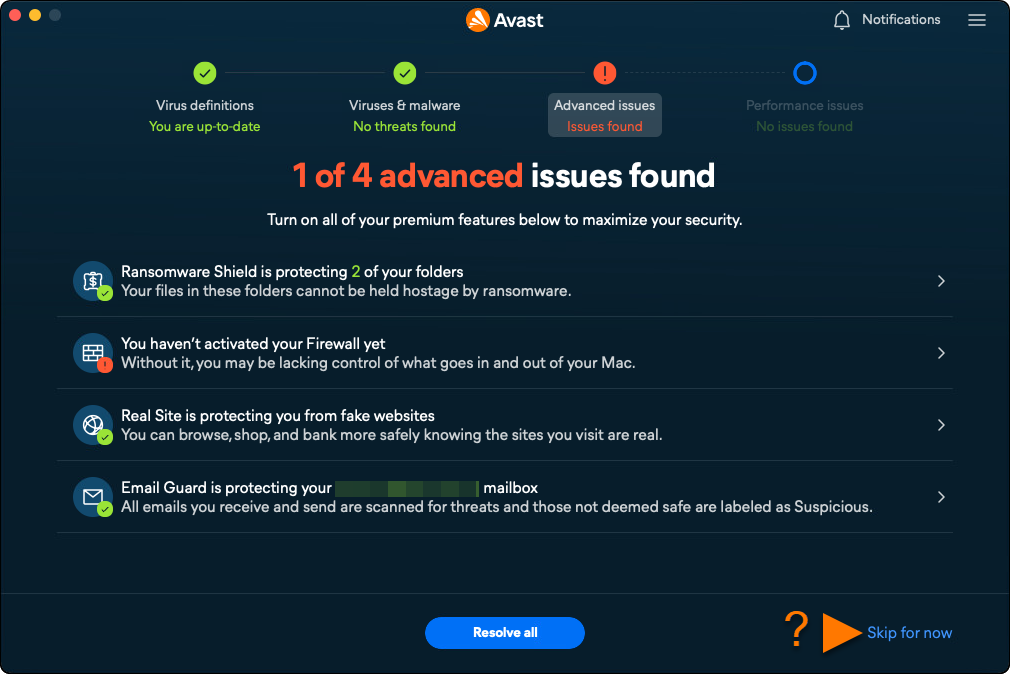
- If an issue is found, click Resolve all and follow the on-screen instructions to solve the issues.

If you want to skip resolving an issue, select Skip for now.
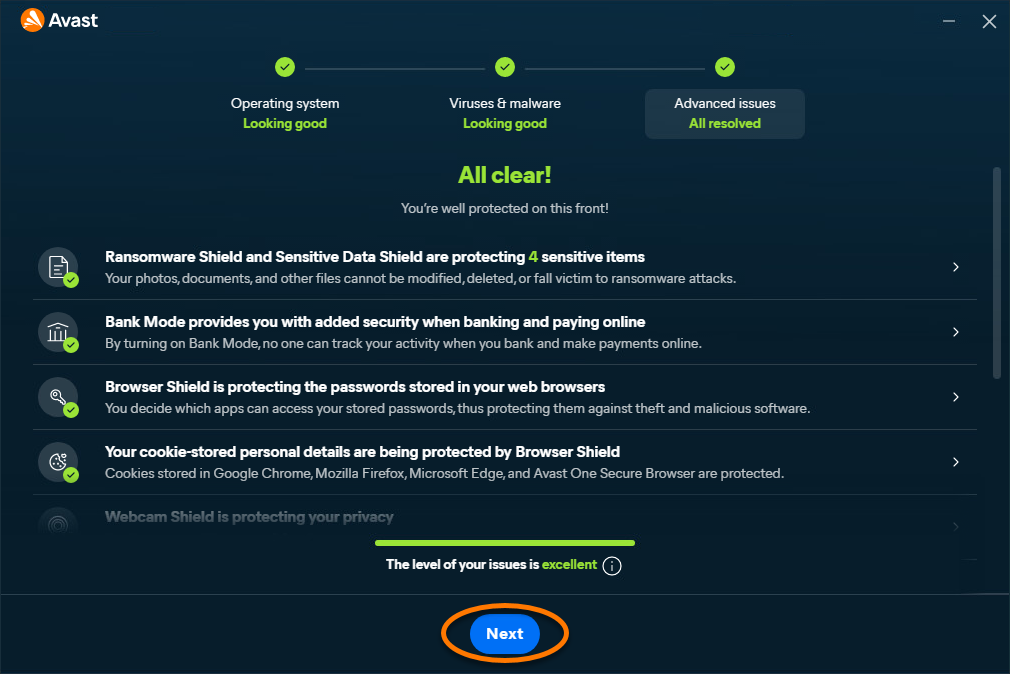
- Click Next to continue in the smart scan.
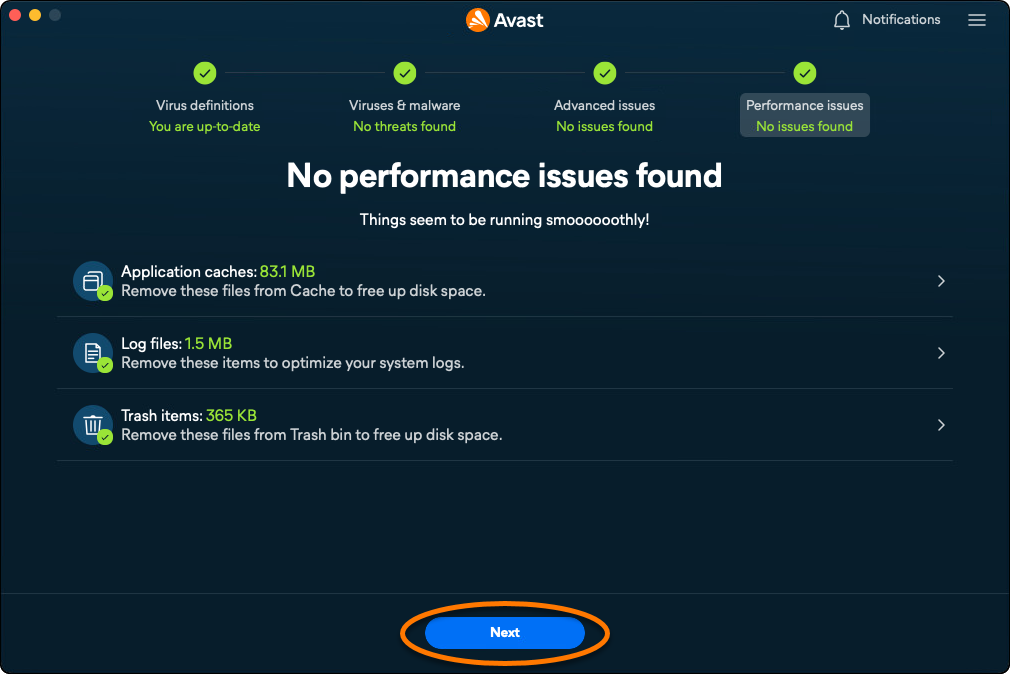
After resolving the detected threats, or if no threats are found, click Done to return to the main menu.
Some detections may require an Avast Premium Security subscription to resolve.
Adjust Smart Scan settings
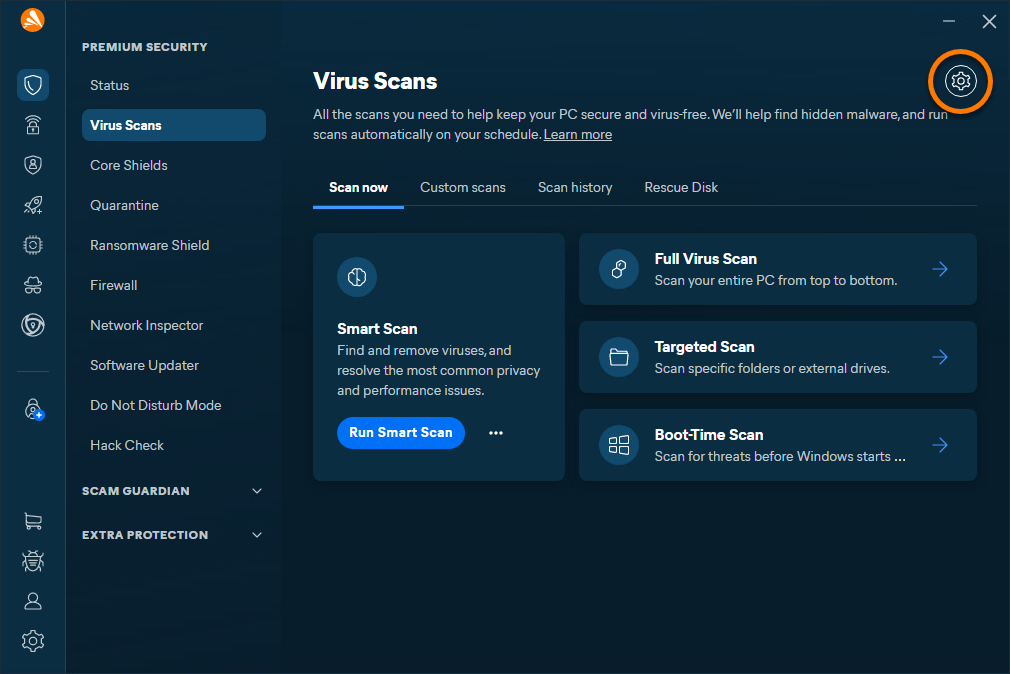
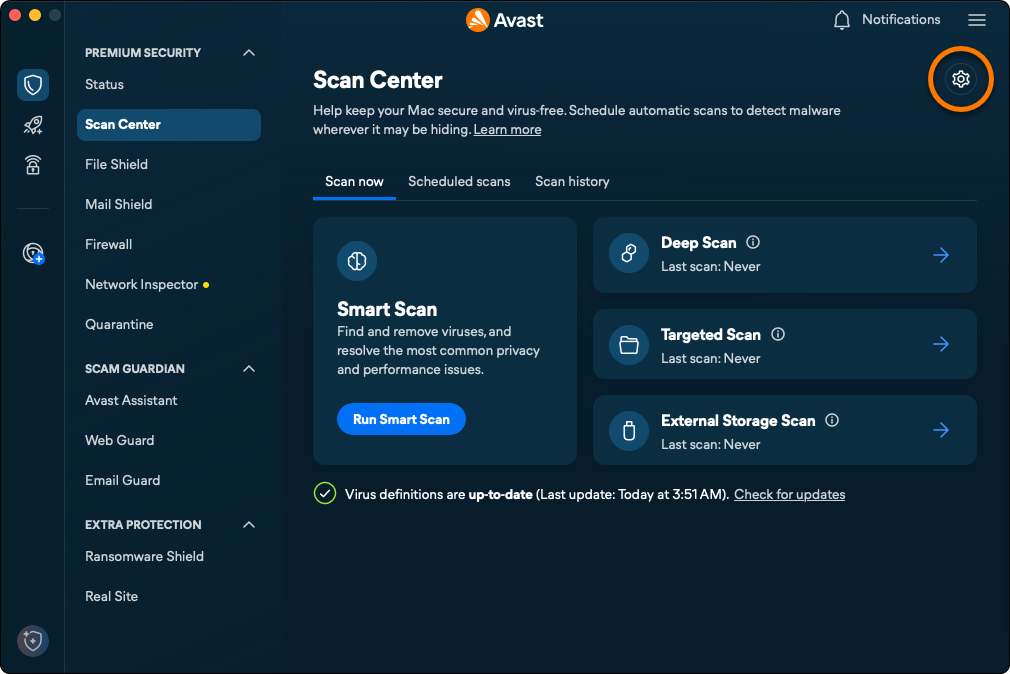
- On the Virus Scans menu, select Settings (the gear icon).
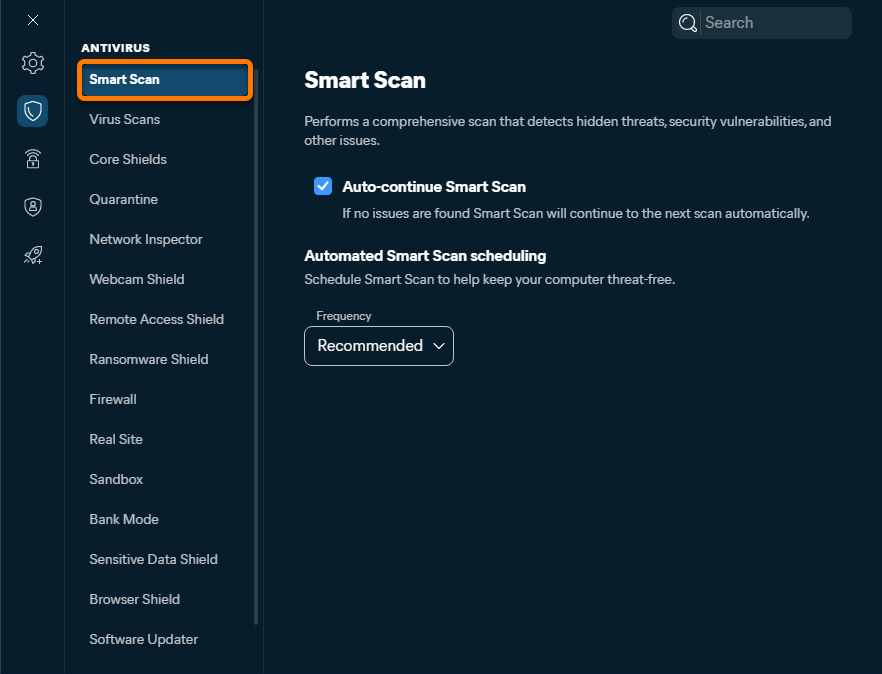
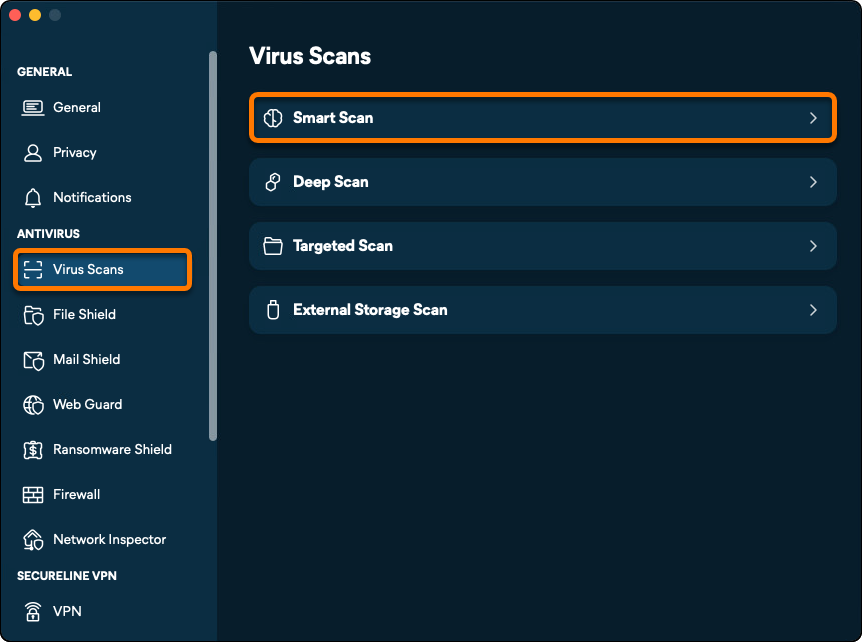
- Ensure the Virus Scans tab is selected, then click Smart Scan.
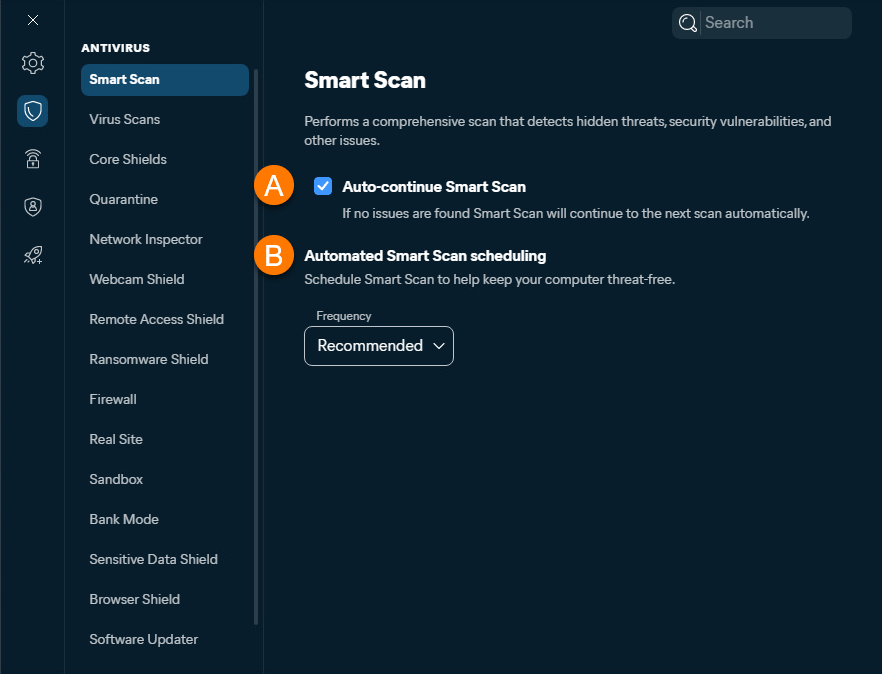
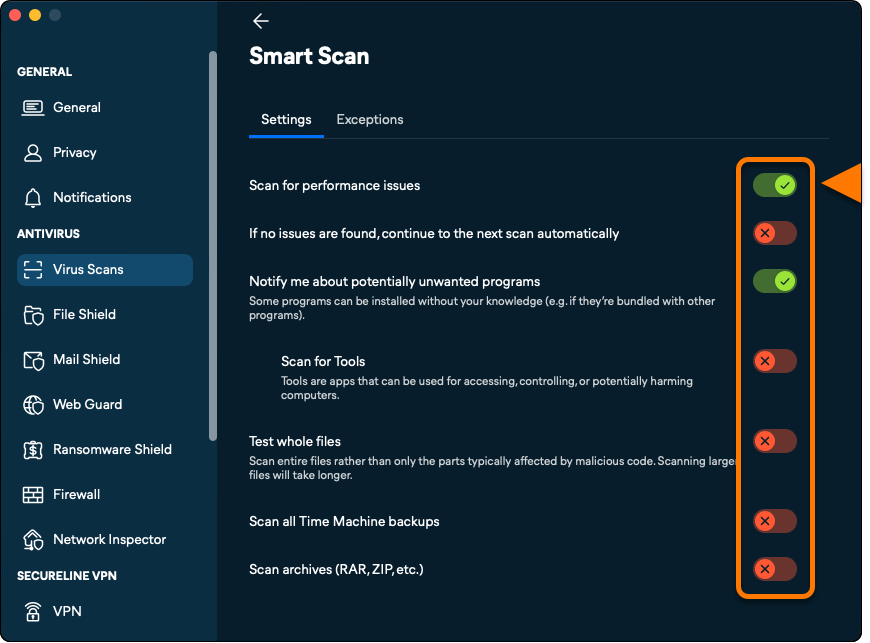
- Use the sliders to configure the Smart Scan settings according to your preferences.
Add an exception
- On the Virus Scans menu, select Settings (the gear icon).
- Select the Exceptions tab, then click Add exceptions.
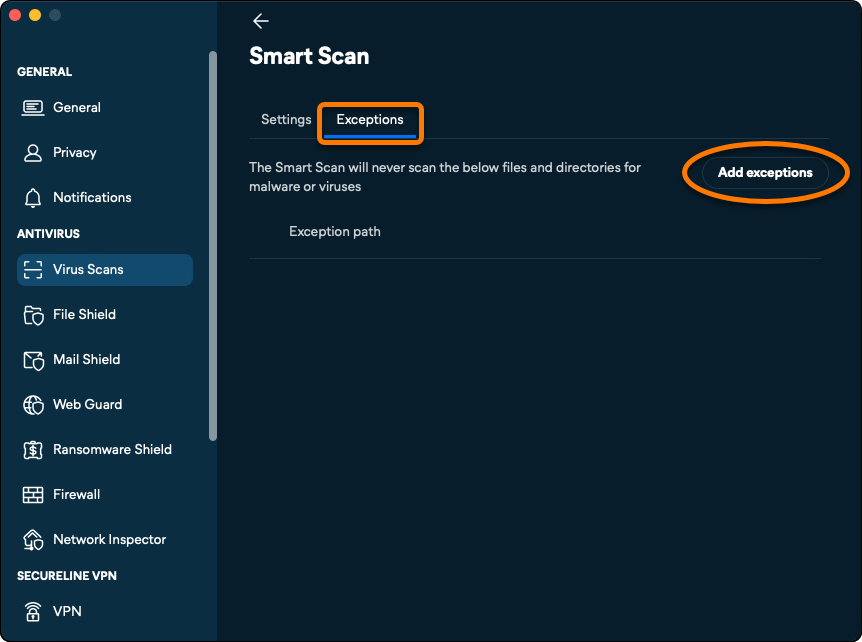
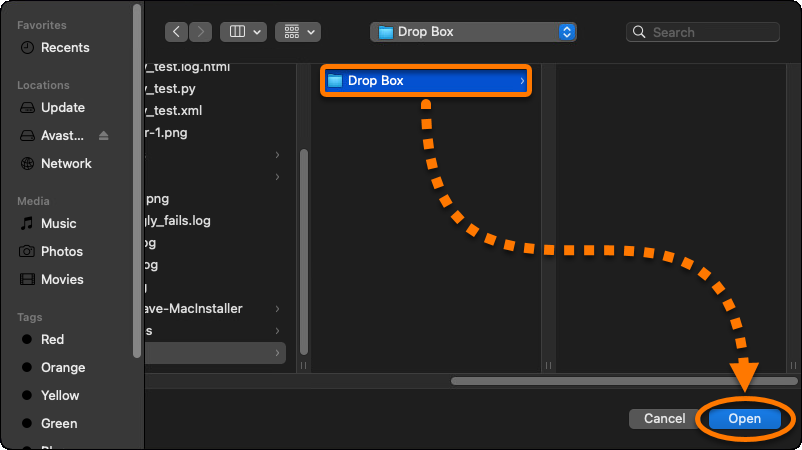
- Select the relevant folder using the Finder window, and click Open.
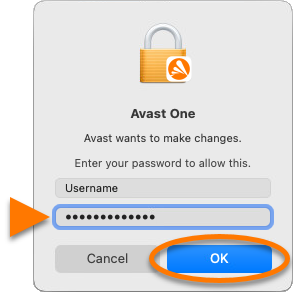
- If prompted, enter the password that you use when you start your Mac, then click OK to authorize the change.
The folder is added to the exceptions list.
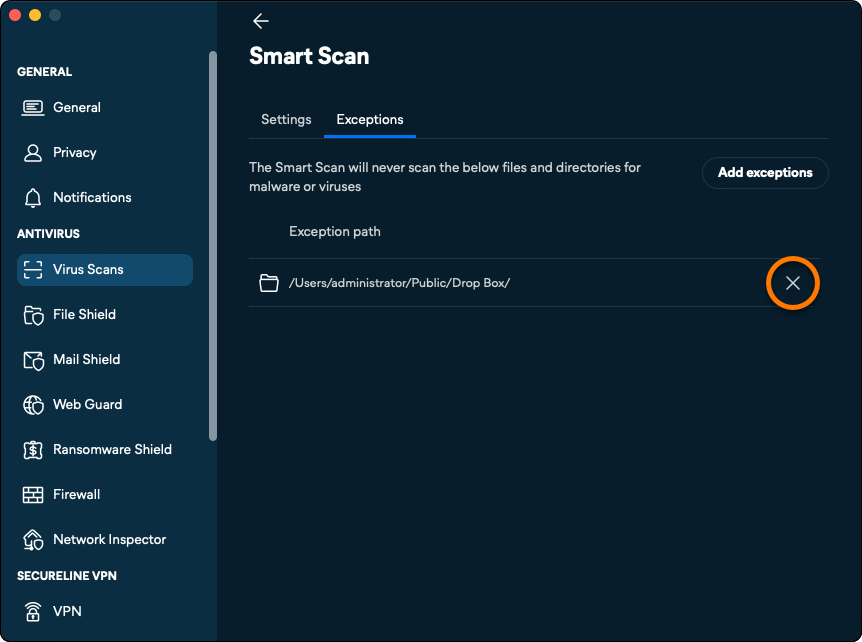
To remove an excluded item, hover your cursor over the file path panel in the exceptions list, then click the
Xicon.